Prerequisites
- An Azure account with an active subscription. If you don’t have one, create a free Azure account, which includes a free trial subscription.
- If you’re creating the project for yourself:
- Access to a role that allows you to create a Foundry resource, such as Foundry Account Owner or Foundry Owner on the subscription or resource group. For more information about permissions, see Role-based access control for Microsoft Foundry.
The Foundry RBAC roles were recently renamed. Foundry User, Foundry Owner, Foundry Account Owner, and Foundry Project Manager were previously named Azure AI User, Azure AI Owner, Azure AI Account Owner, and Azure AI Project Manager. You might still see the previous names in some places while the rename rolls out. The role IDs and core permissions are unchanged by the rename.
- If you’re creating the project for a team:
- Access to a role that allows you to complete role assignments, such as Owner. For more information about permissions, see Role-based access control for Microsoft Foundry.
- A list of user email addresses or Microsoft Entra security group IDs for team members who need access.
- Azure CLI
- Foundry portal
-
Install the Azure CLI version 2.67.0 or later (check with
az version). -
Sign in to Azure:
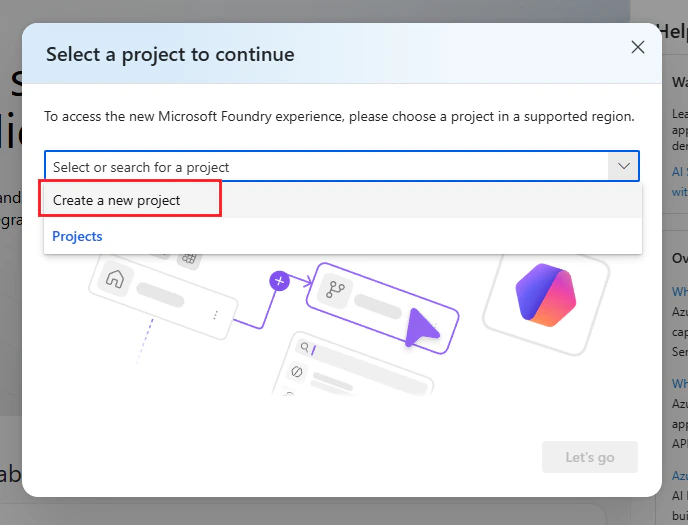
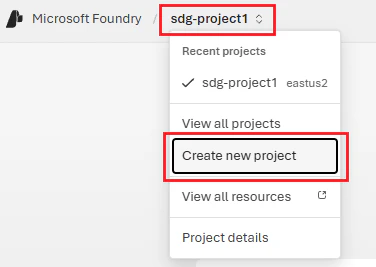
Create a project
Create a Foundry project to organize your work. The project contains models, agents, and other resources your team uses.- Azure CLI
- Foundry portal
-
Create a resource group or use an existing one. For example, create
my-foundry-rgineastus: -
Create the Foundry resource. For example, create
my-foundry-resourcein themy-foundry-rgresource group:The--allow-project-managementflag enables project creation within this resource. -
Create a custom subdomain for the resource. The custom domain name must be globally unique. If
my-foundry-resourceis taken, try a more unique name. -
Create the project. For example, create
my-foundry-projectin themy-foundry-resource: -
Verify the project was created:
The output displays the project properties, including its resource ID.

Deploy a model
Deploy a model that you can use. This example uses gpt-5.1-mini, but you can choose any available model.- Azure CLI
- Foundry portal
"provisioningState": "Succeeded".Reference: az cognitiveservices account deploymentGet your project connection details
You need your project endpoint to connect from code. If you’re administering this project for others, send them this endpoint along with the deployment name.- Sign in to Microsoft Foundry by using your Azure account.
- Select your project.
- Find your project endpoint on the welcome screen of the project.

- Copy the endpoint value. You use this value in other quickstarts and tutorials.
For administrators - grant access
If you’re administering a team, assign the Foundry User role to team members so they can use the project and deployed models. This role provides the minimum permissions needed to build and test AI applications. For other roles you might need to assign, see Role-based access control for Microsoft FoundryThe Foundry RBAC roles were recently renamed. Foundry User, Foundry Owner, Foundry Account Owner, and Foundry Project Manager were previously named Azure AI User, Azure AI Owner, Azure AI Account Owner, and Azure AI Project Manager. You might still see the previous names in some places while the rename rolls out. The role IDs and core permissions are unchanged by the rename.
- Azure CLI
- Foundry portal
-
Get the project’s resource ID:
- Assign the Foundry User role to a team member:
The Foundry RBAC roles were recently renamed. Foundry User, Foundry Owner, Foundry Account Owner, and Foundry Project Manager were previously named Azure AI User, Azure AI Owner, Azure AI Account Owner, and Azure AI Project Manager. You might still see the previous names in some places while the rename rolls out. The role IDs and core permissions are unchanged by the rename.
Because the Foundry RBAC roles were recently renamed, use the role definition ID (GUID) instead of the role name in your code to avoid issues during the rename rollout:
- Foundry User:
53ca6127-db72-4b80-b1b0-d745d6d5456d - Foundry Owner:
c883944f-8b7b-4483-af10-35834be79c4a - Foundry Account Owner:
e47c6f54-e4a2-4754-9501-8e0985b135e1 - Foundry Project Manager:
eadc314b-1a2d-4efa-be10-5d325db5065e
-
Verify the role assignment:
Verify team member access
Ask a team member to verify their access by signing in to Microsoft Foundry and selecting the project from the project list. If the team member can’t access the project, verify that the role assignment completed successfully. Check that you used the correct email address or security group ID. Make sure the team member’s Azure account is in the same Microsoft Entra tenant. To confirm the deployed model is available, ask the team member to select Build in the upper-right navigation, then Models in the left pane.Clean up resources
When you no longer want this project, delete the resource group to delete all resources associated with it.- Azure CLI
- Foundry portal