Prerequisites
- An Azure account with an active subscription. If you don’t have one, create a free Azure account, which includes a free trial subscription.
- A Foundry project. If you don’t have one, create a project.
- The Owner or Resource Policy Contributor role at the subscription or resource group level. For more information, see the overview of Azure Policy.
This capability is available only in the Microsoft Foundry (new) portal.
Create the guardrail policy
- Sign in to Microsoft Foundry. Make sure the New Foundry toggle is on. These steps refer to Foundry (new).

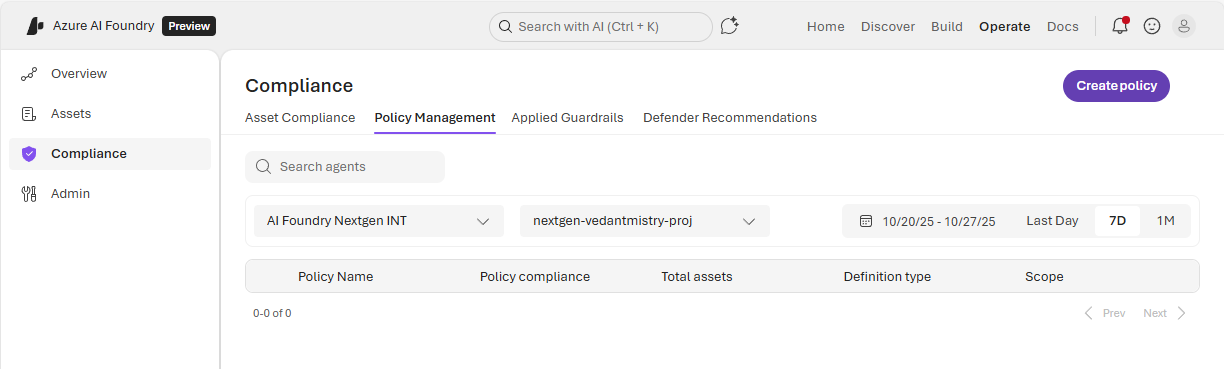
- On the toolbar, select Operate.
- On the left pane, select Compliance.
- Select Create policy.
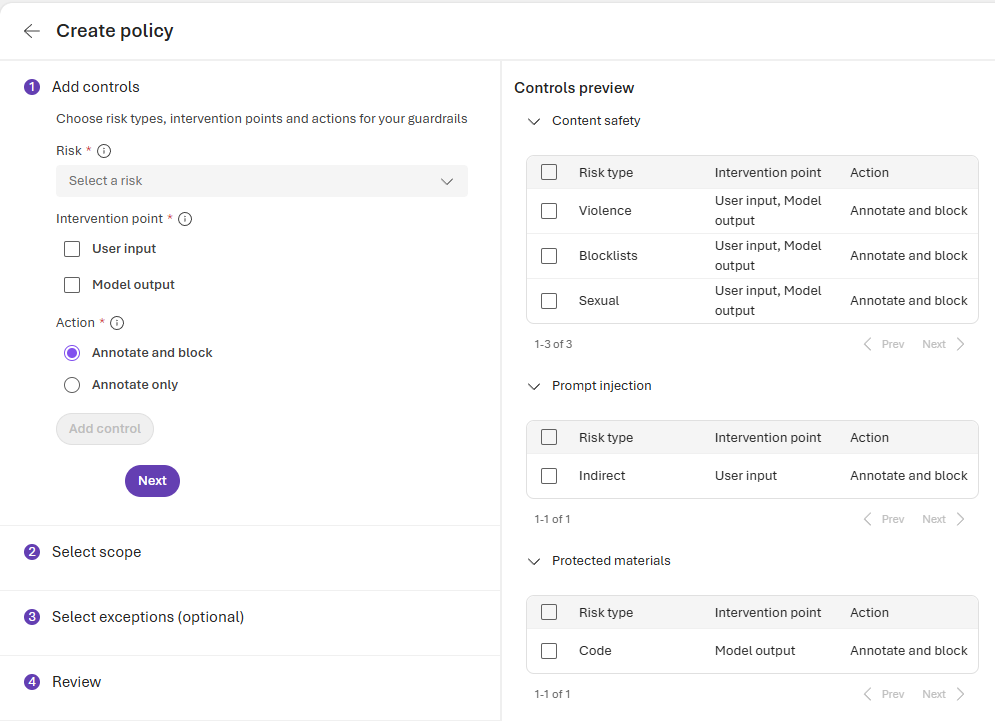
- Select the controls to add to the policy. Guardrail controls include content safety, prompt injection, and protected materials. These controls represent the minimum settings required for a model deployment to be considered compliant with the policy. As you configure each control, select Add control to add it to the policy.
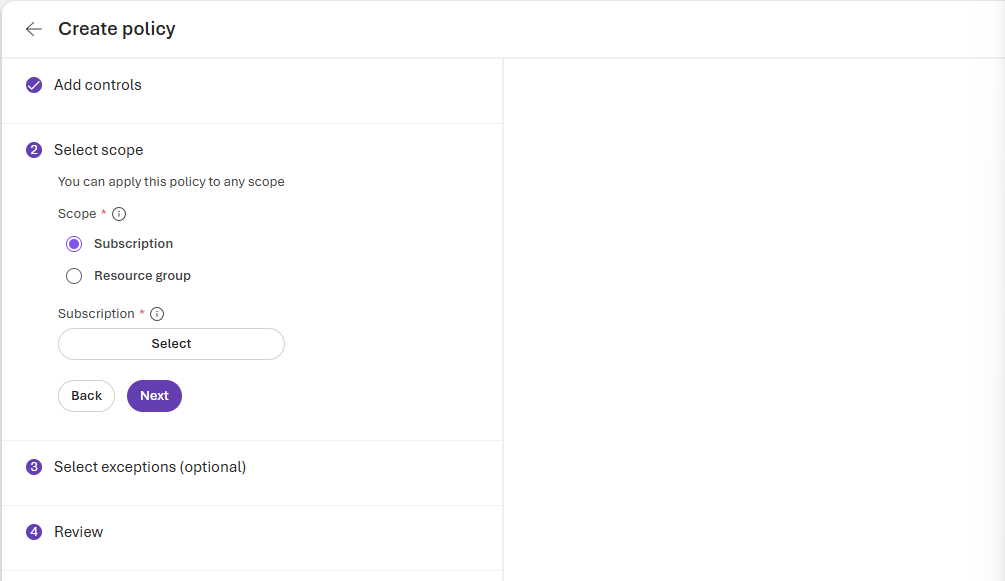
- Select Next to move to scope selection. You can scope your policy to a single subscription or a resource group. Select a scope, select the subscription or resource group that you want the policy to apply to, and then choose Select.
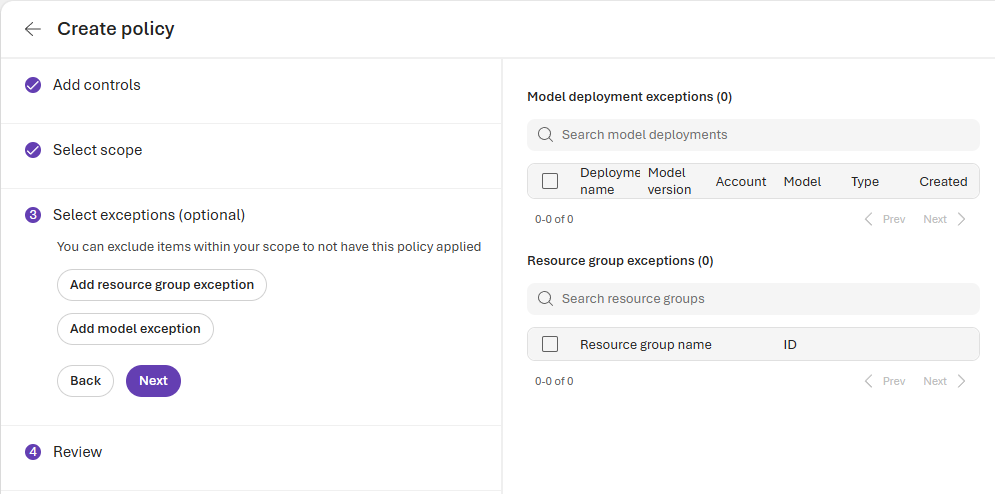
- Select Next to add exceptions to the policy. The exception options depend on your scope selection:
- If you scoped to a subscription, you can create exceptions for entire resource groups or individual model deployments within that subscription.
- If you scoped to a resource group, you can create exceptions only for individual model deployments.
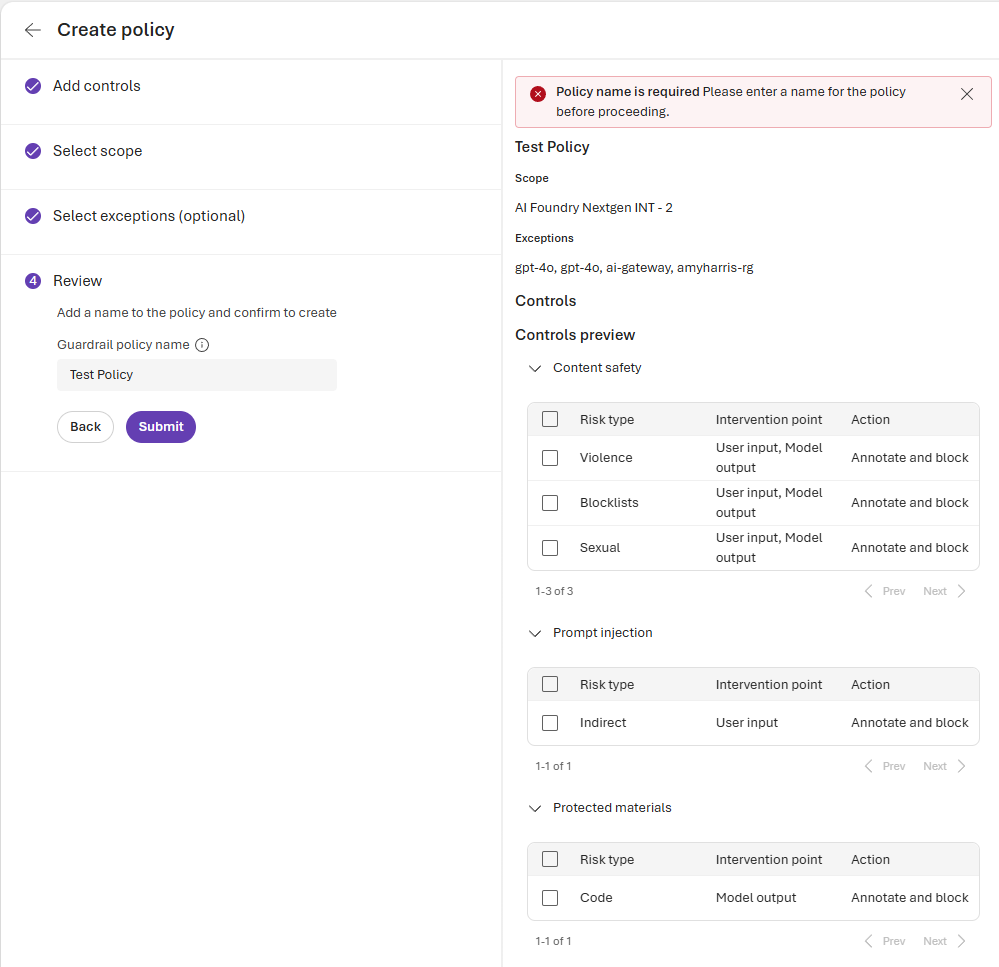
- Select Next to move to the review stage. Enter a name for your policy and review the scope, exceptions, and controls. When you’re ready, select Submit to create the policy.
Verify your policy
After you submit your policy, verify that it was created successfully:- On the Compliance pane, select the Policies tab.
- Locate your newly created policy in the policy list.
- Check that the policy name, scope, and status are correct.
It takes some time for Azure Policy to perform a compliance scan. Initial compliance results might not appear immediately after policy creation. After the scan completes, return to the Compliance pane to review compliance status for your model deployments.
Clean up resources
If you no longer need the guardrail policy, you can delete it:- On the Compliance pane, select the Policies tab.
- Select the policy that you want to remove.
- Select Delete policy, and then confirm the deletion.
Deleting a policy in the Foundry portal also removes the associated policy assignment in Azure Policy.